How to Download and Install TunnelBear on Mac in 2024

Embrace unparalleled online freedom with TunnelBear, the foremost VPN championing privacy and security. In the contemporary digital milieu, relying solely on macOS security proves insufficient to shield your online activities.
Recognizing this imperative, install TunnelBear on Mac because TunnelBear offers a dedicated app for Mac, providing an extra layer of protection against cyber threats and ensuring your data remains confidential. As we navigate the intricacies of the internet, it becomes crucial to fortify our online presence, and TunnelBear for Mac stands out as the optimal solution.
To empower you on this journey, we’re here to guide you through the seamless process of how to download and install TunnelBear on Mac . Elevate your online experience by embracing the simplicity and robust security measures that TunnelBear brings to the table, safeguarding your digital world with ease.
How to Install TunnelBear on Mac ?
Unsure about how to change your VPN on Mac TunnelBear? Here we guide you on the easy installation process for Tunnelbear on Mac:
- Download TunnelBear App for Mac
- Create a Free Tunnelbear Account
- Use an Existing Account to Log In
- Email Verification
- Connect Fast
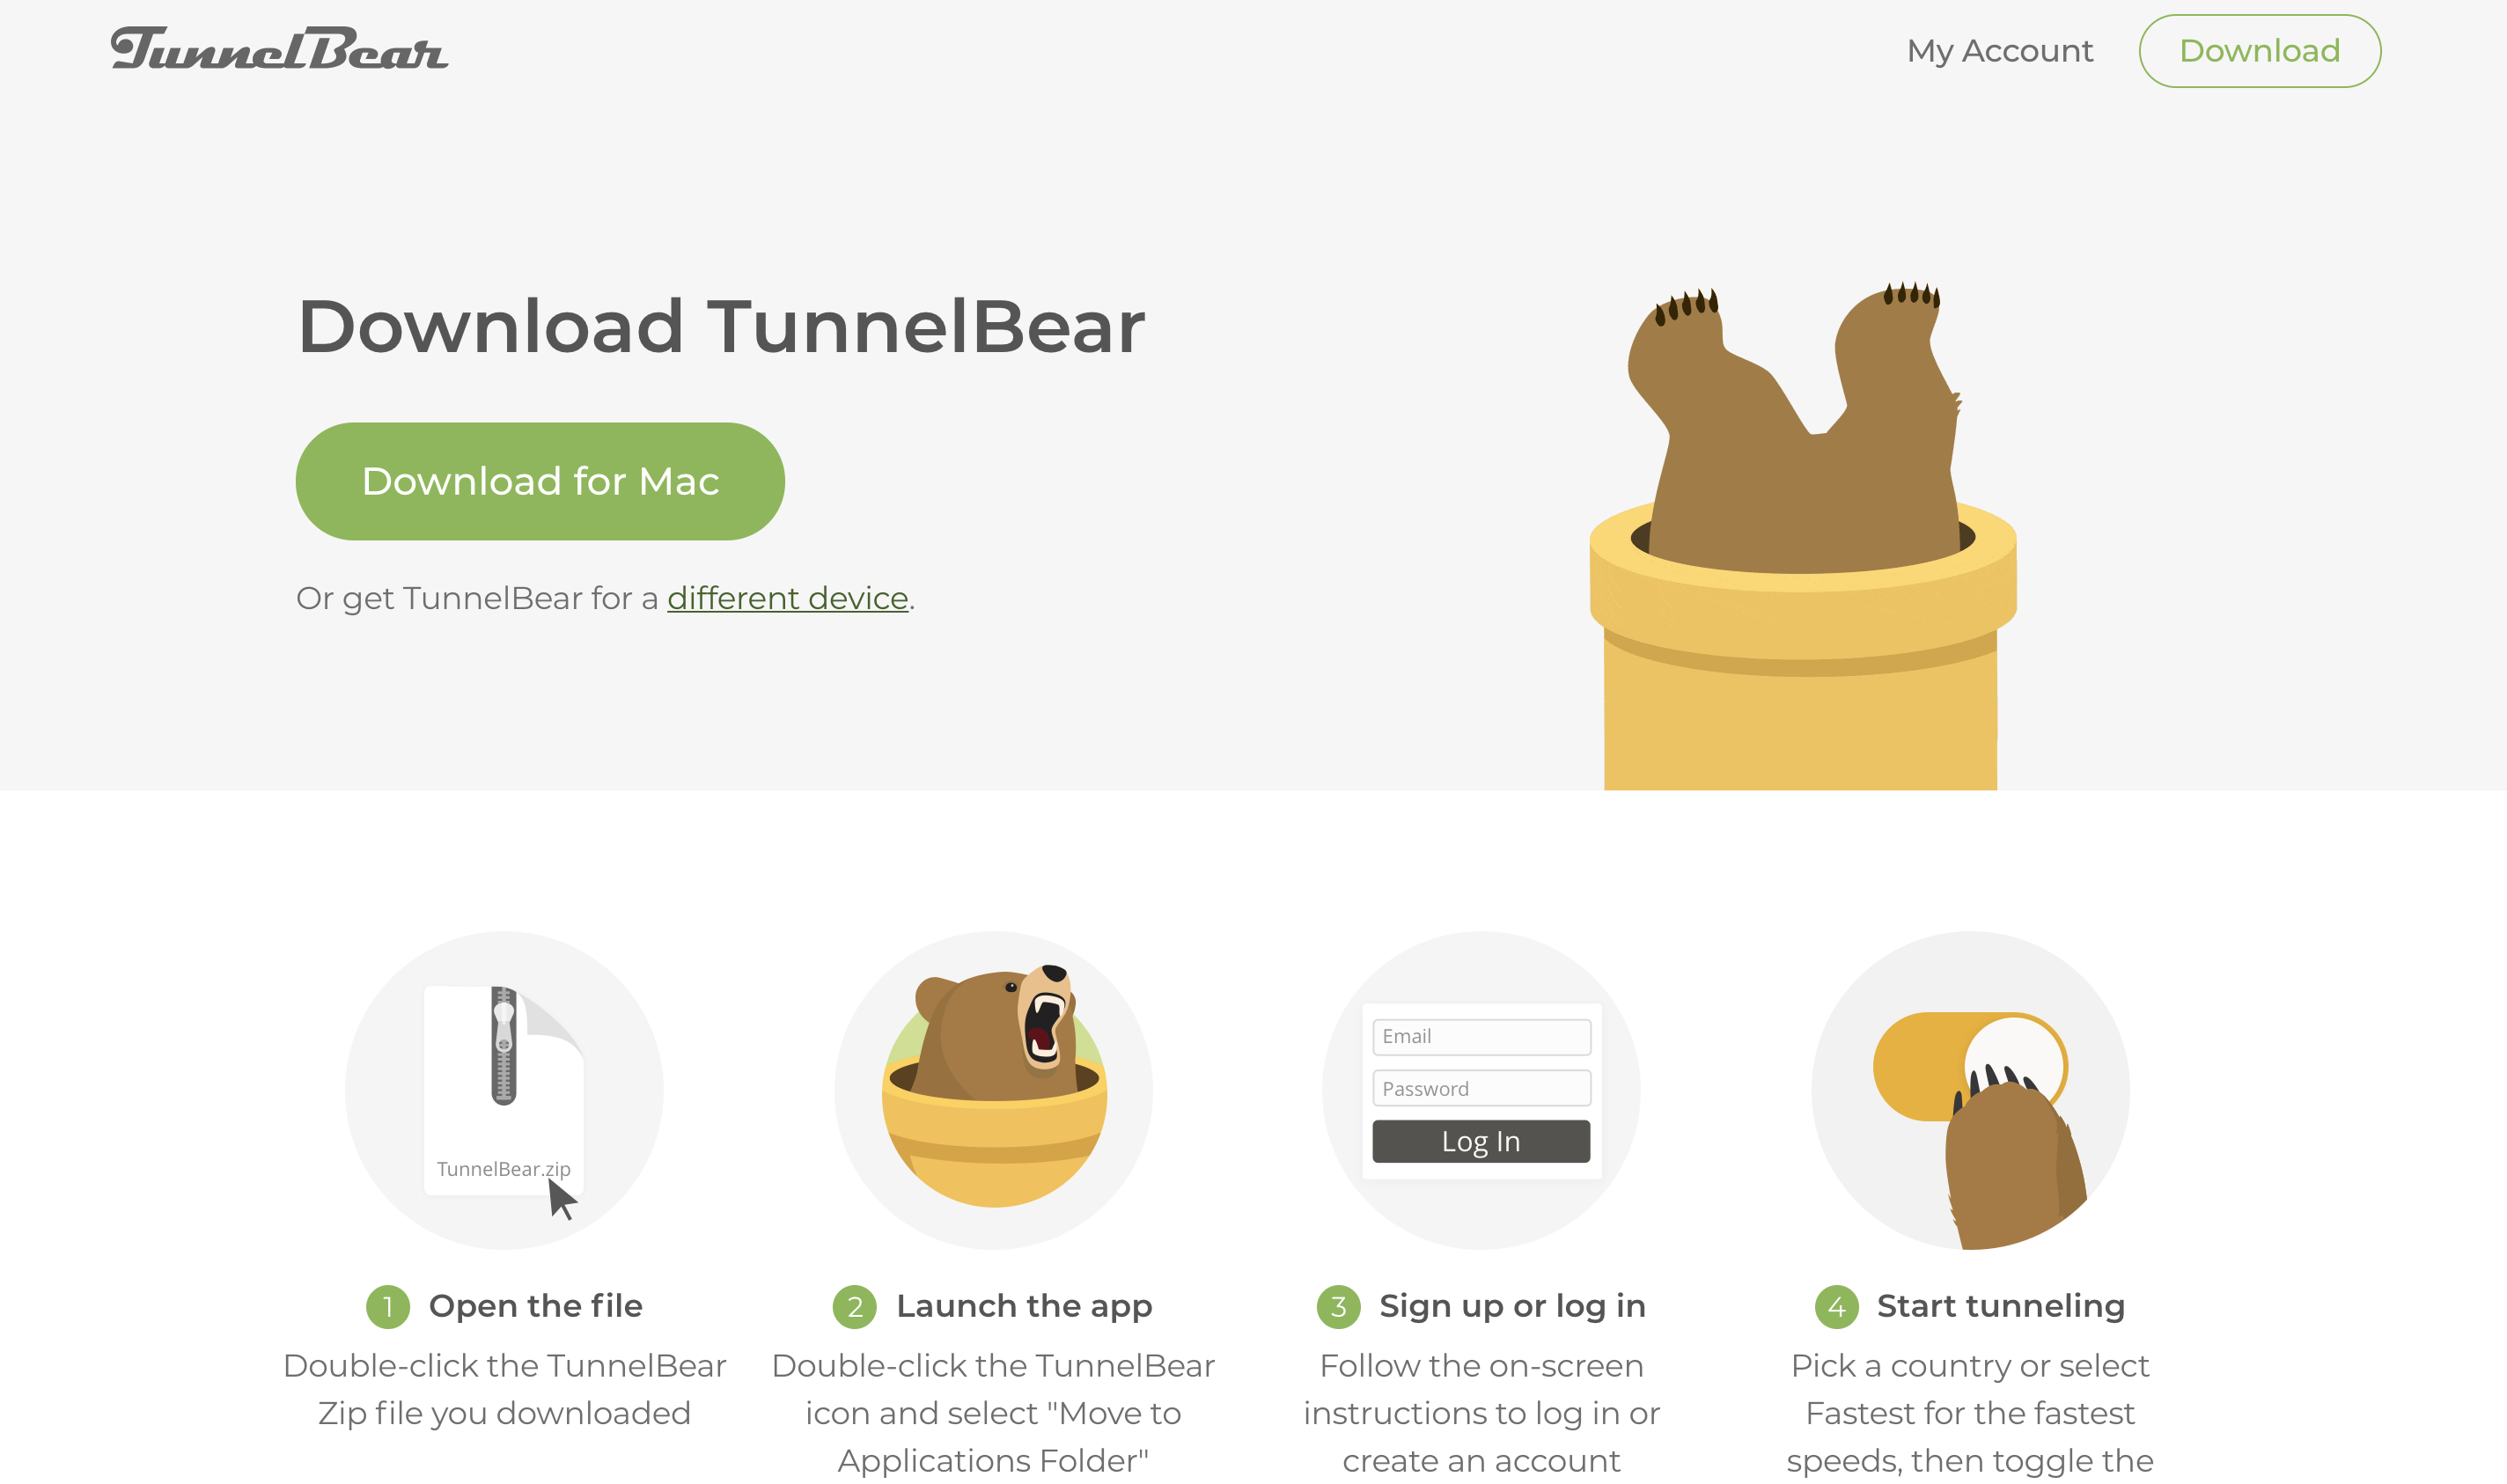
1- Download TunnelBear App for Mac
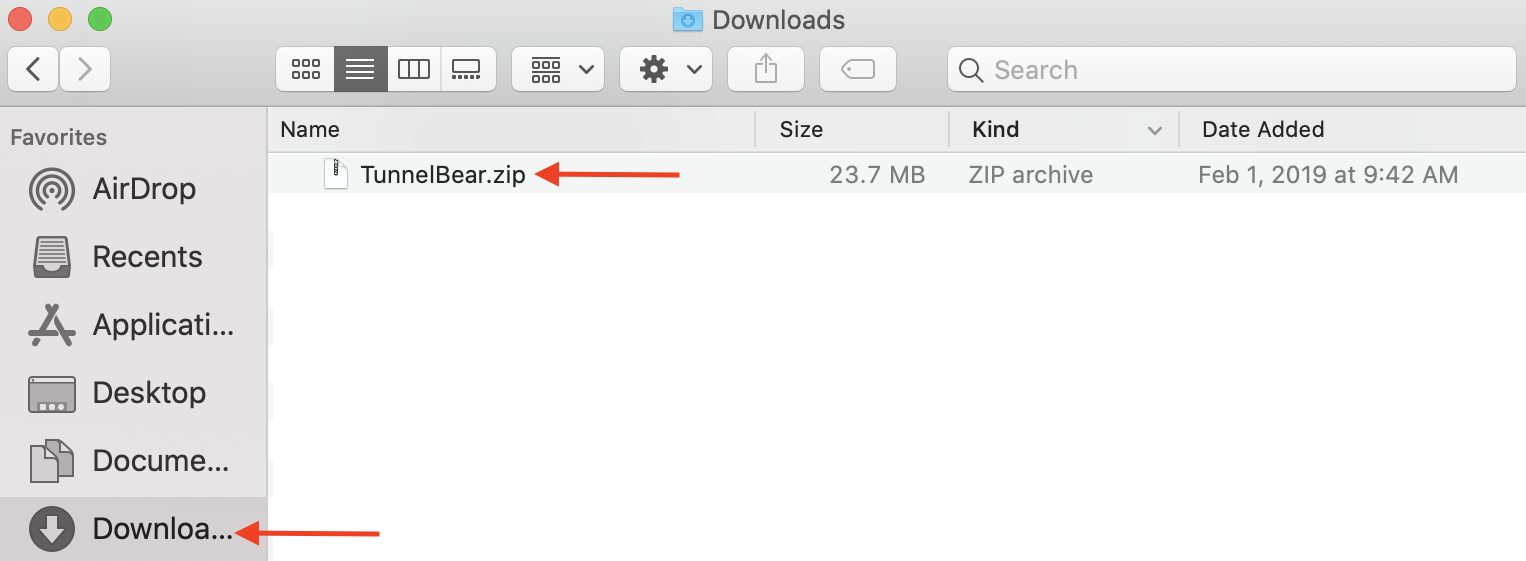
- Go to tunnelbear.com/download and wait for the download to complete.

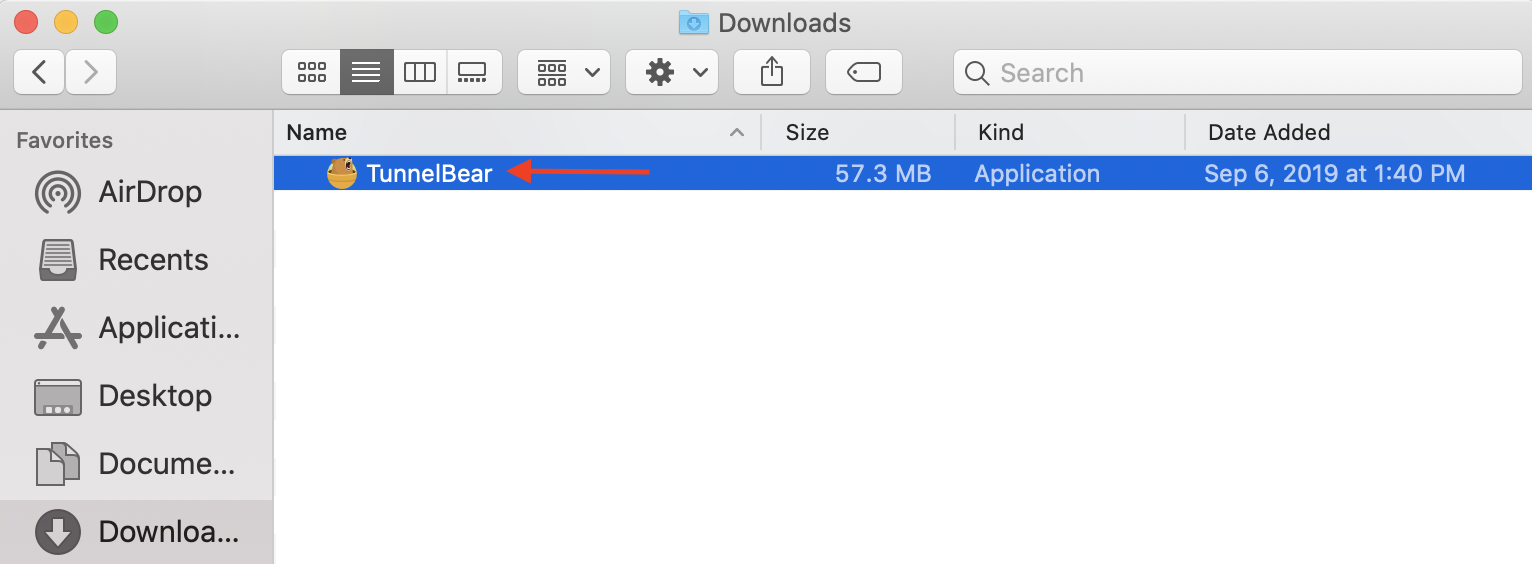
- Locate the downloaded TunnelBear.zip file in your Downloads folder and double-click to extract the installation file.
- Double-click the extracted TunnelBear installation file to initiate the installation process.
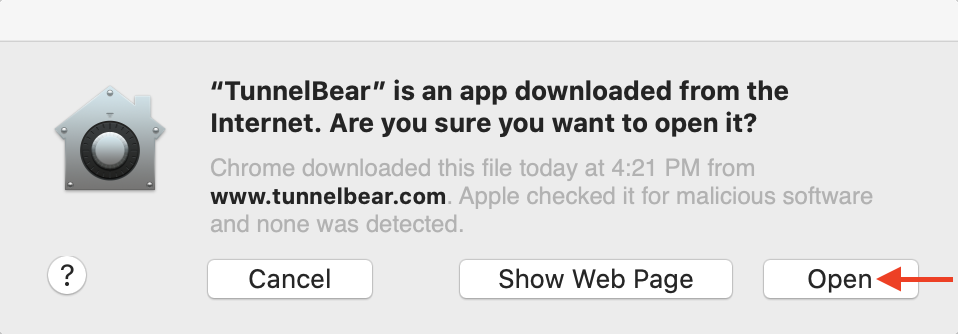
- When prompted, click “Open” to access the installation window.
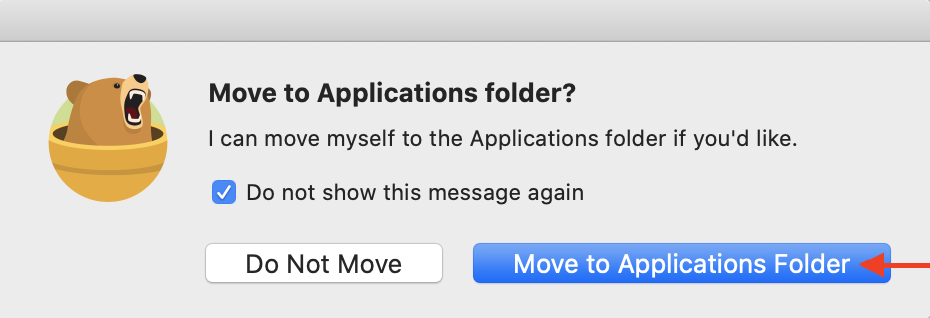
- Select “Move to Applications Folder” to save TunnelBear in your Applications Folder. Enable “Don’t ask again” for future installations.
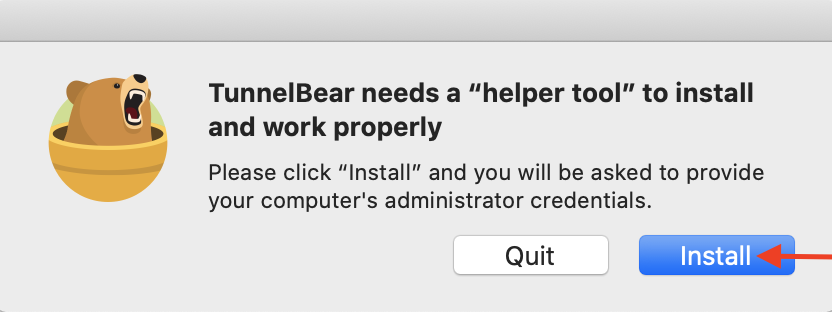
- Proceed with the installation by clicking “Install” to install the necessary helper tool for connecting to TunnelBear servers.
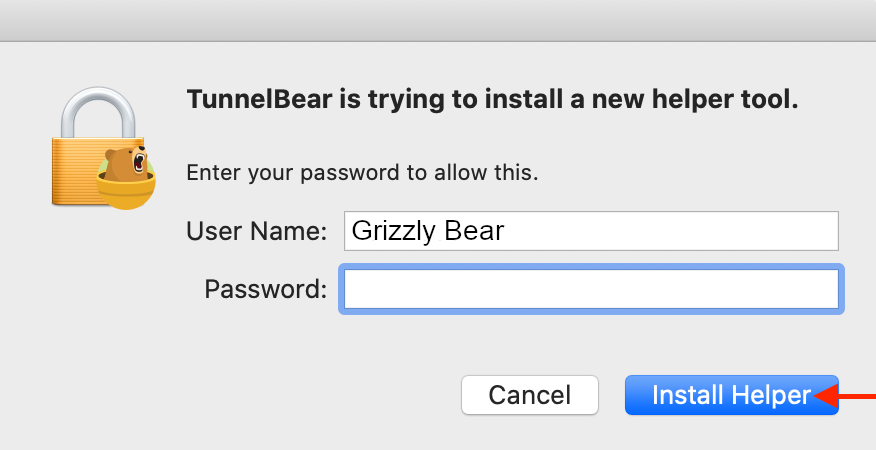
- Enter your computer’s administrator password when prompted.
- Note: This is your system password, not your TunnelBear account password. The User Name should auto-fill.
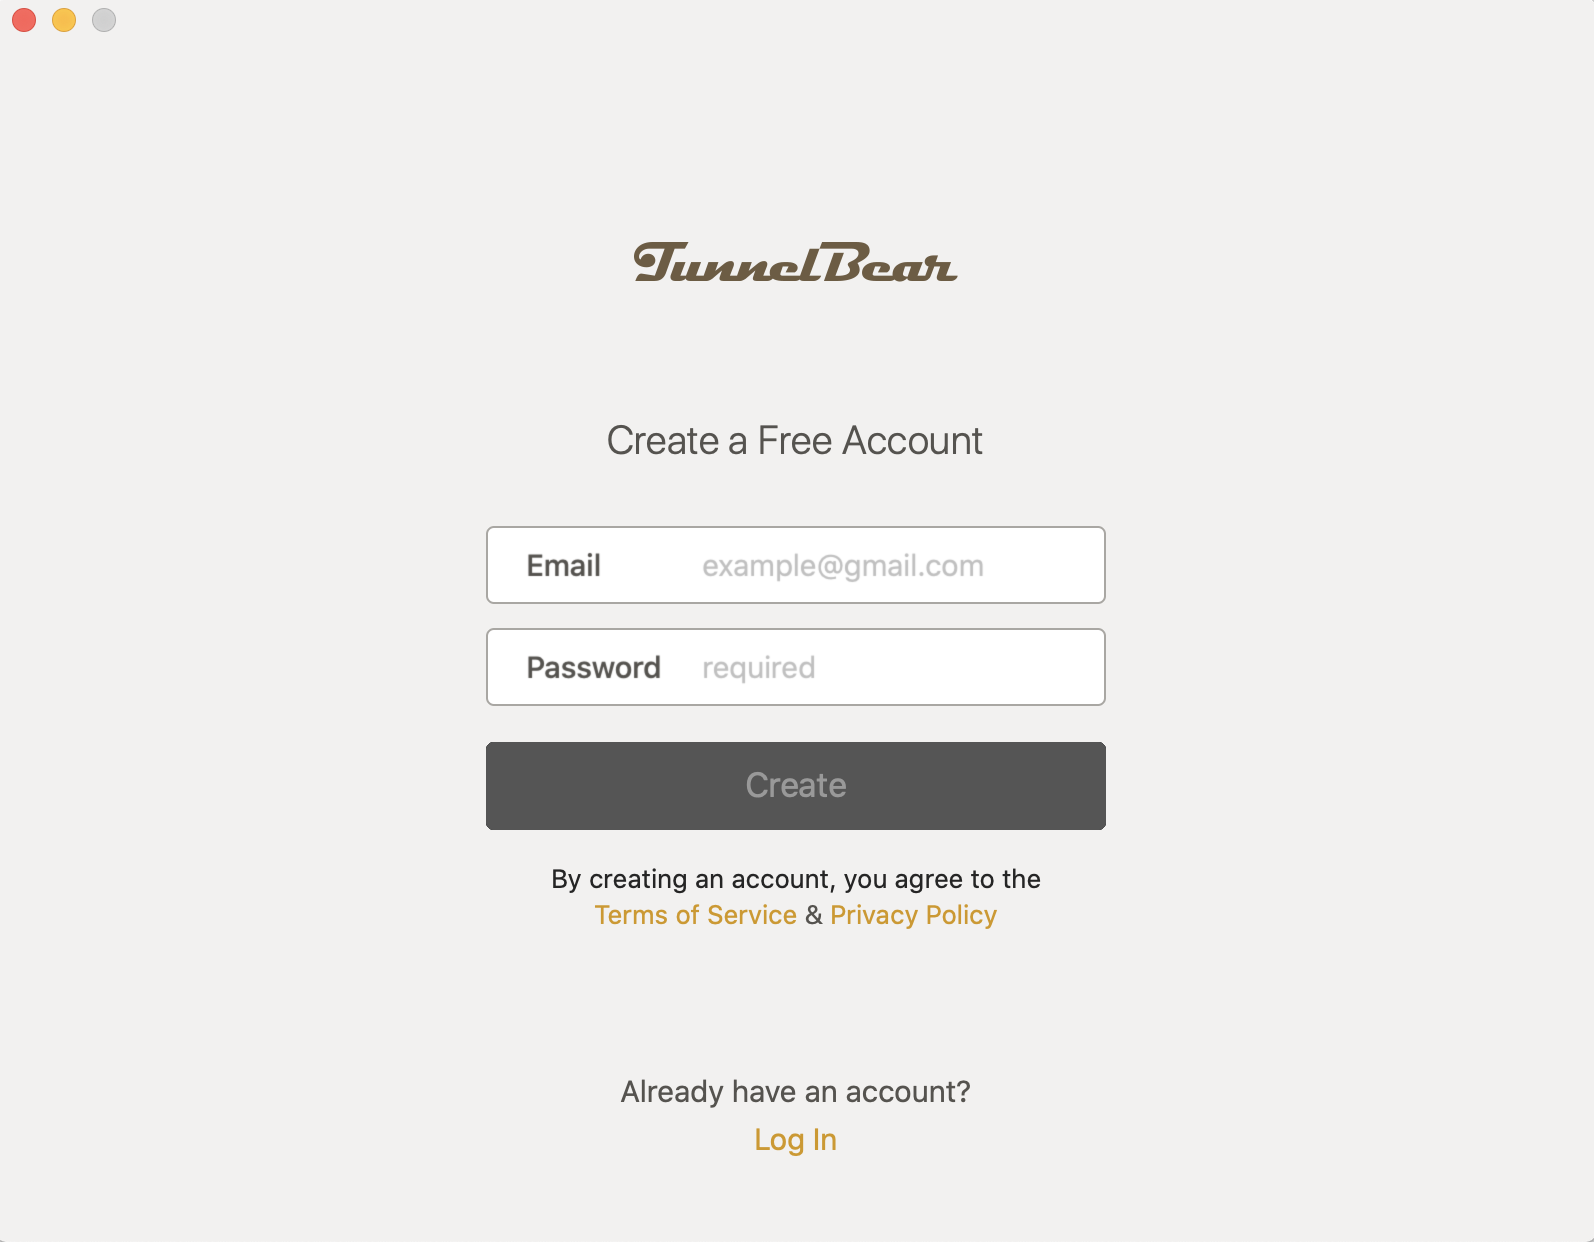
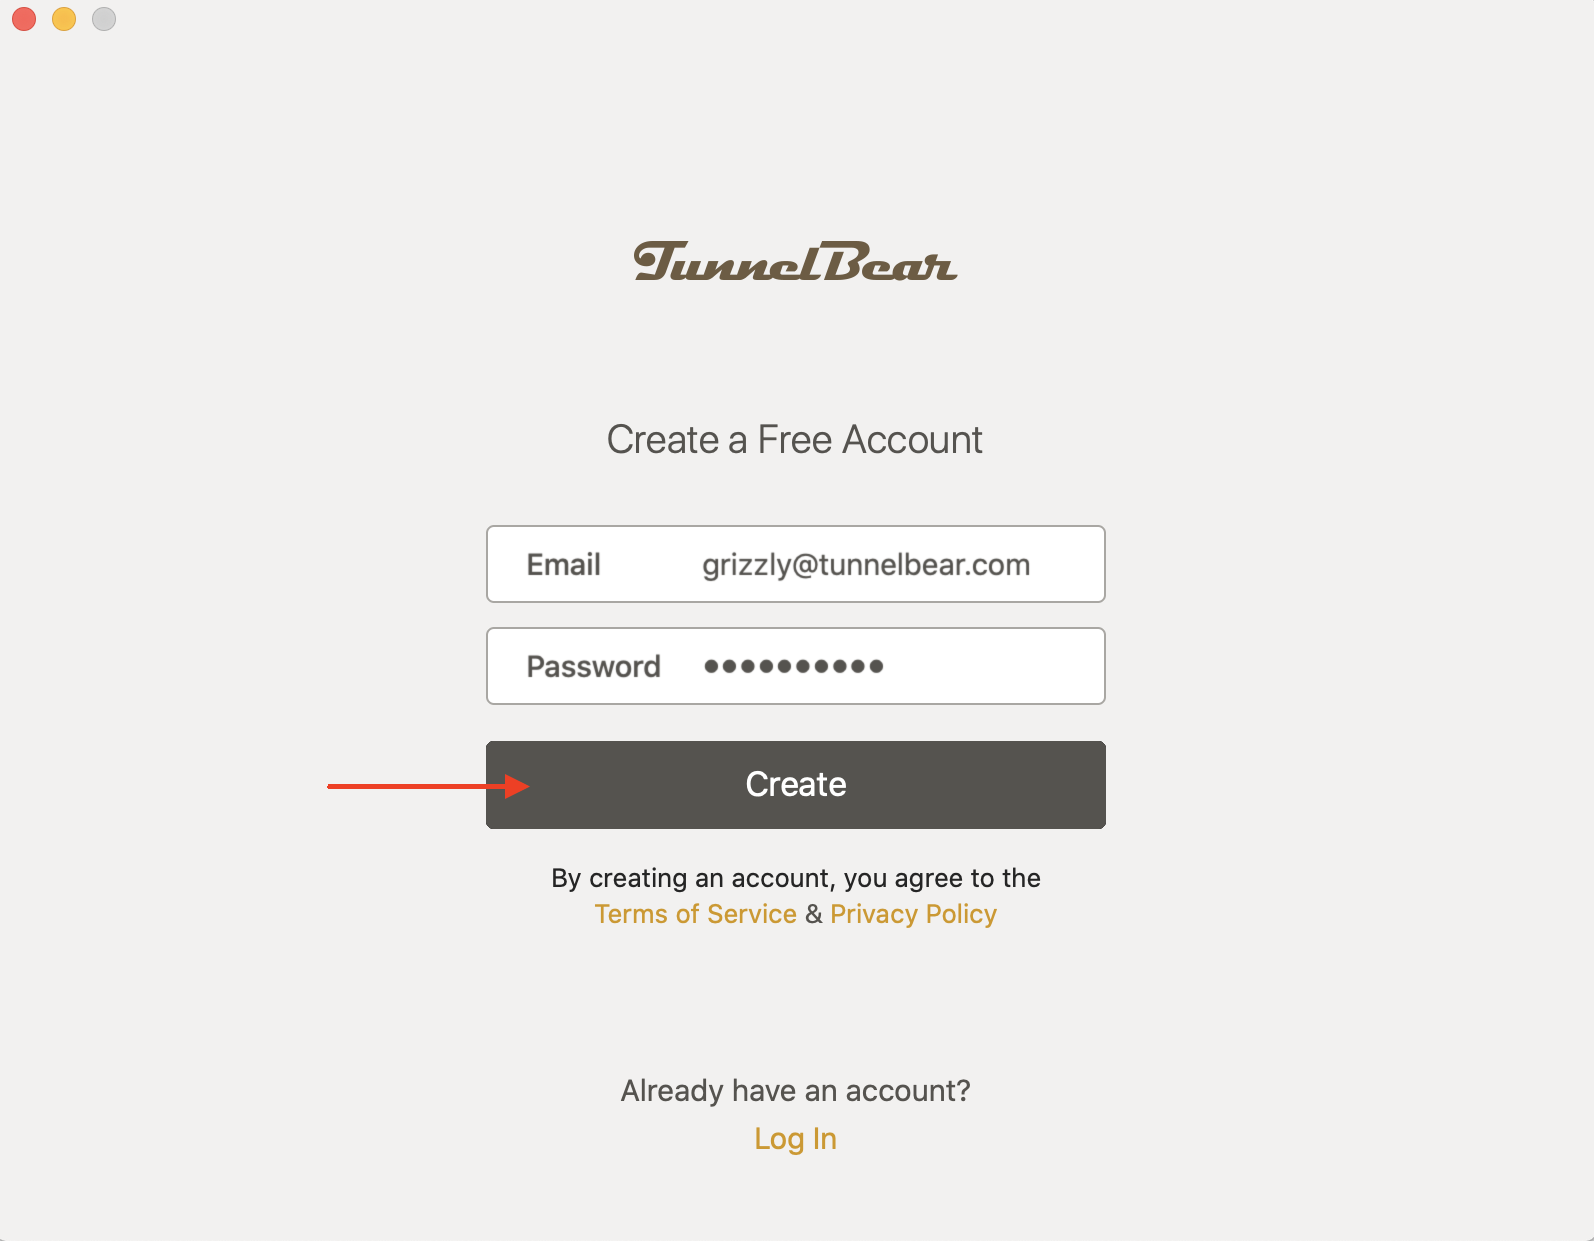
2- Create a Free Tunnelbear Account
- If you haven’t registered for TunnelBear yet, begin by signing up for a free account.
- Provide your email address and generate a robust password, then select “Create.”
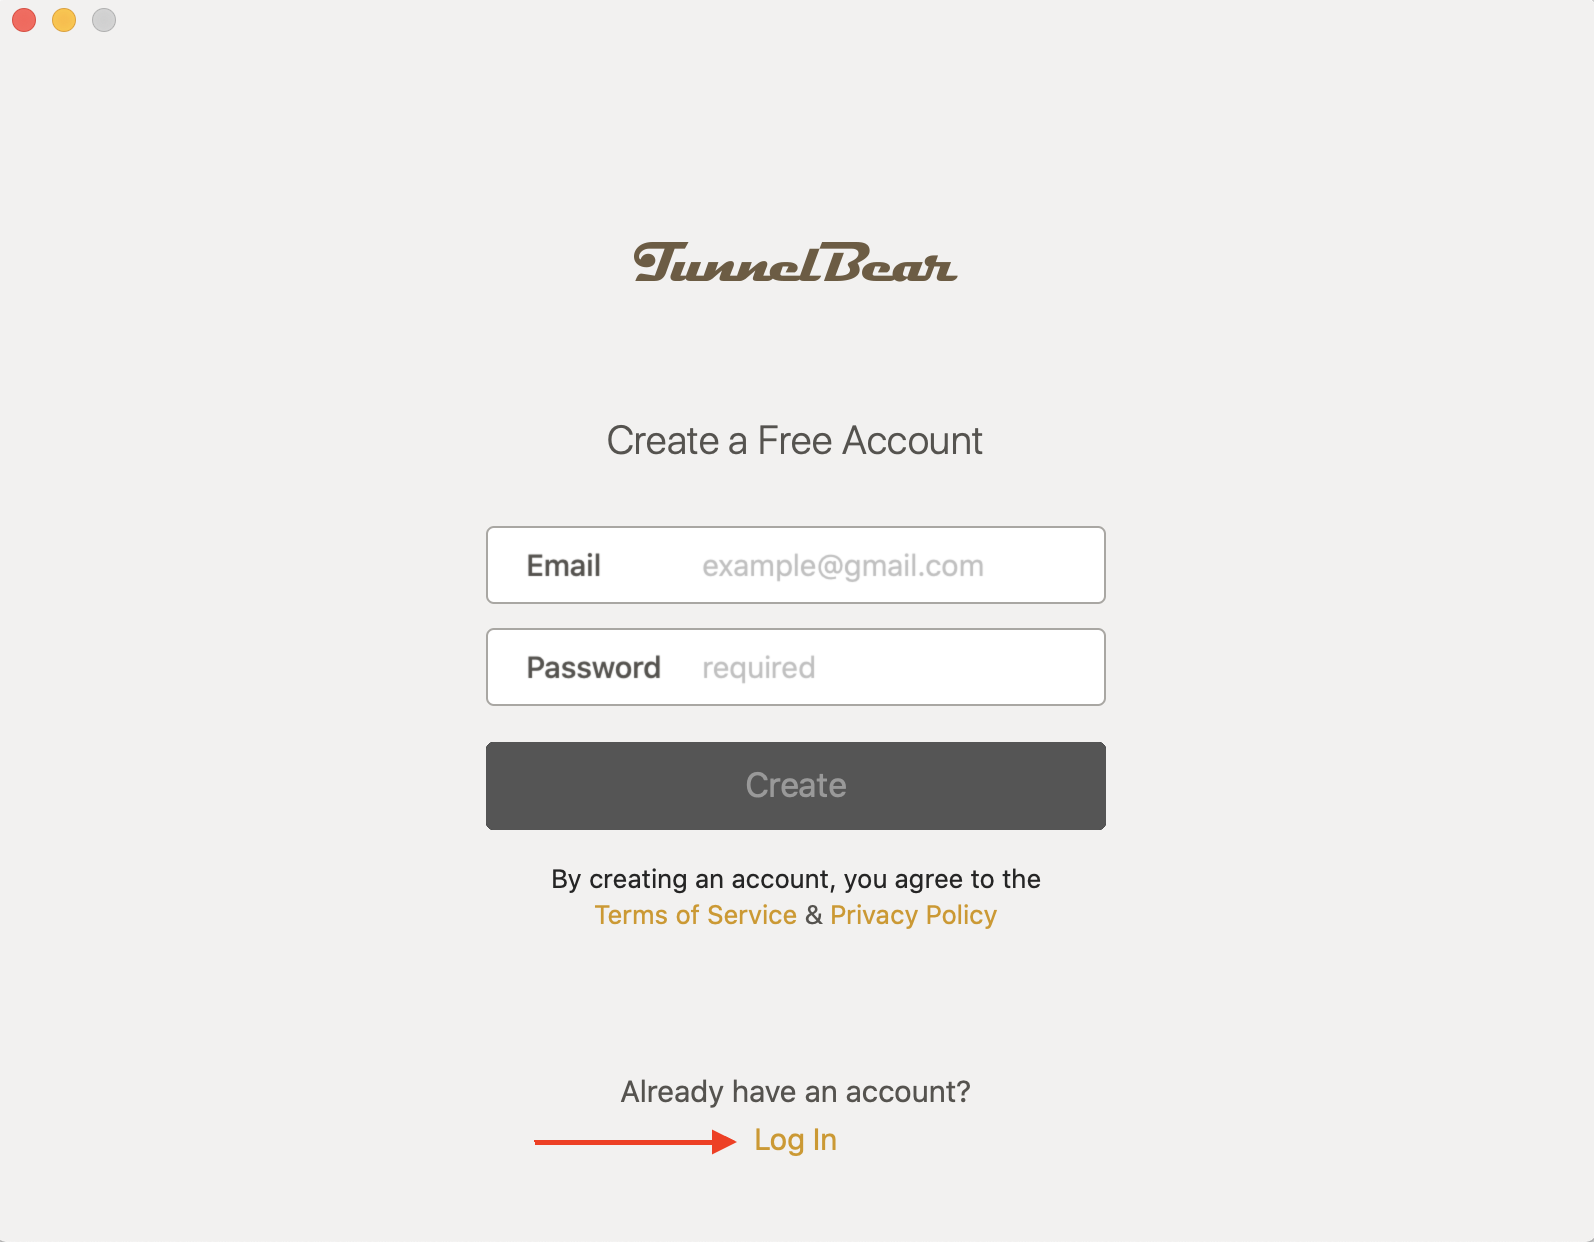
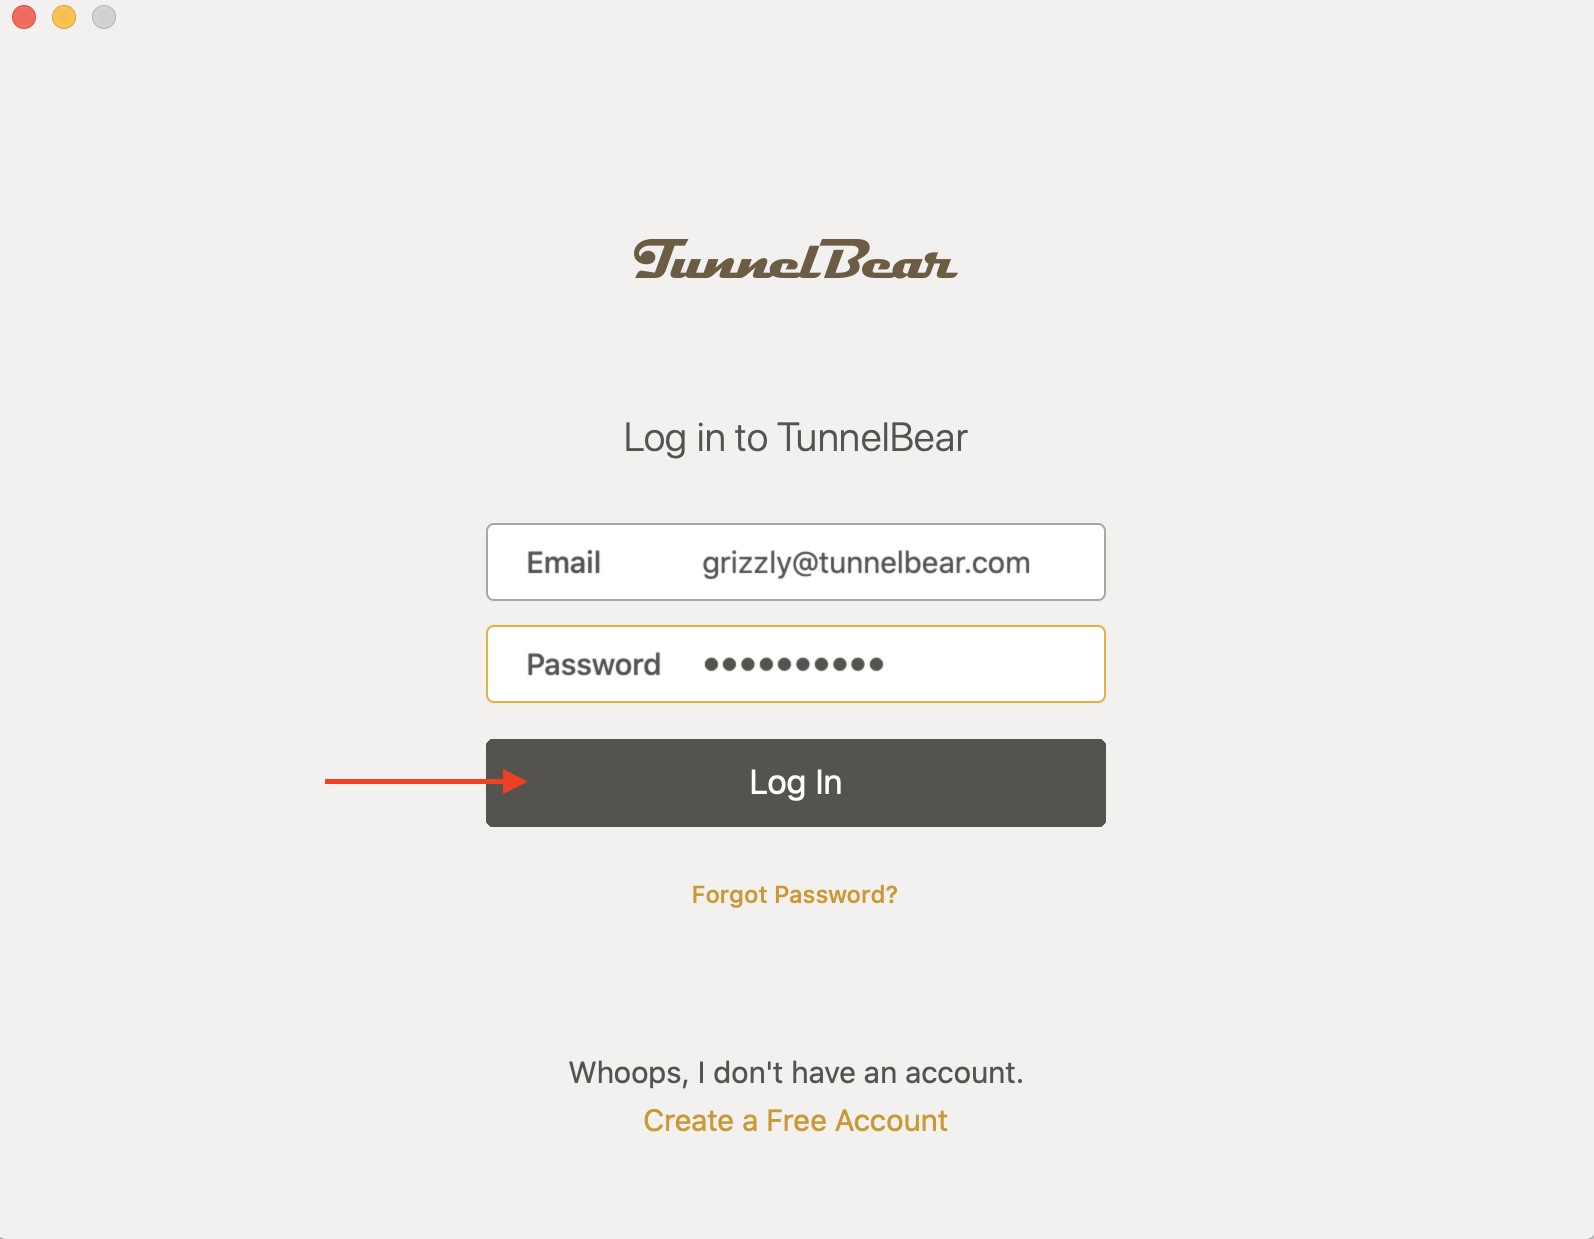
3- Use an Existing Account to Log In
- If you’ve already registered, select “Log in” under “Already have an account?”
- Input the email address and password associated with your signup.
- Access the Quick Guide by clicking “Next,” or choose “Skip” to proceed without it.
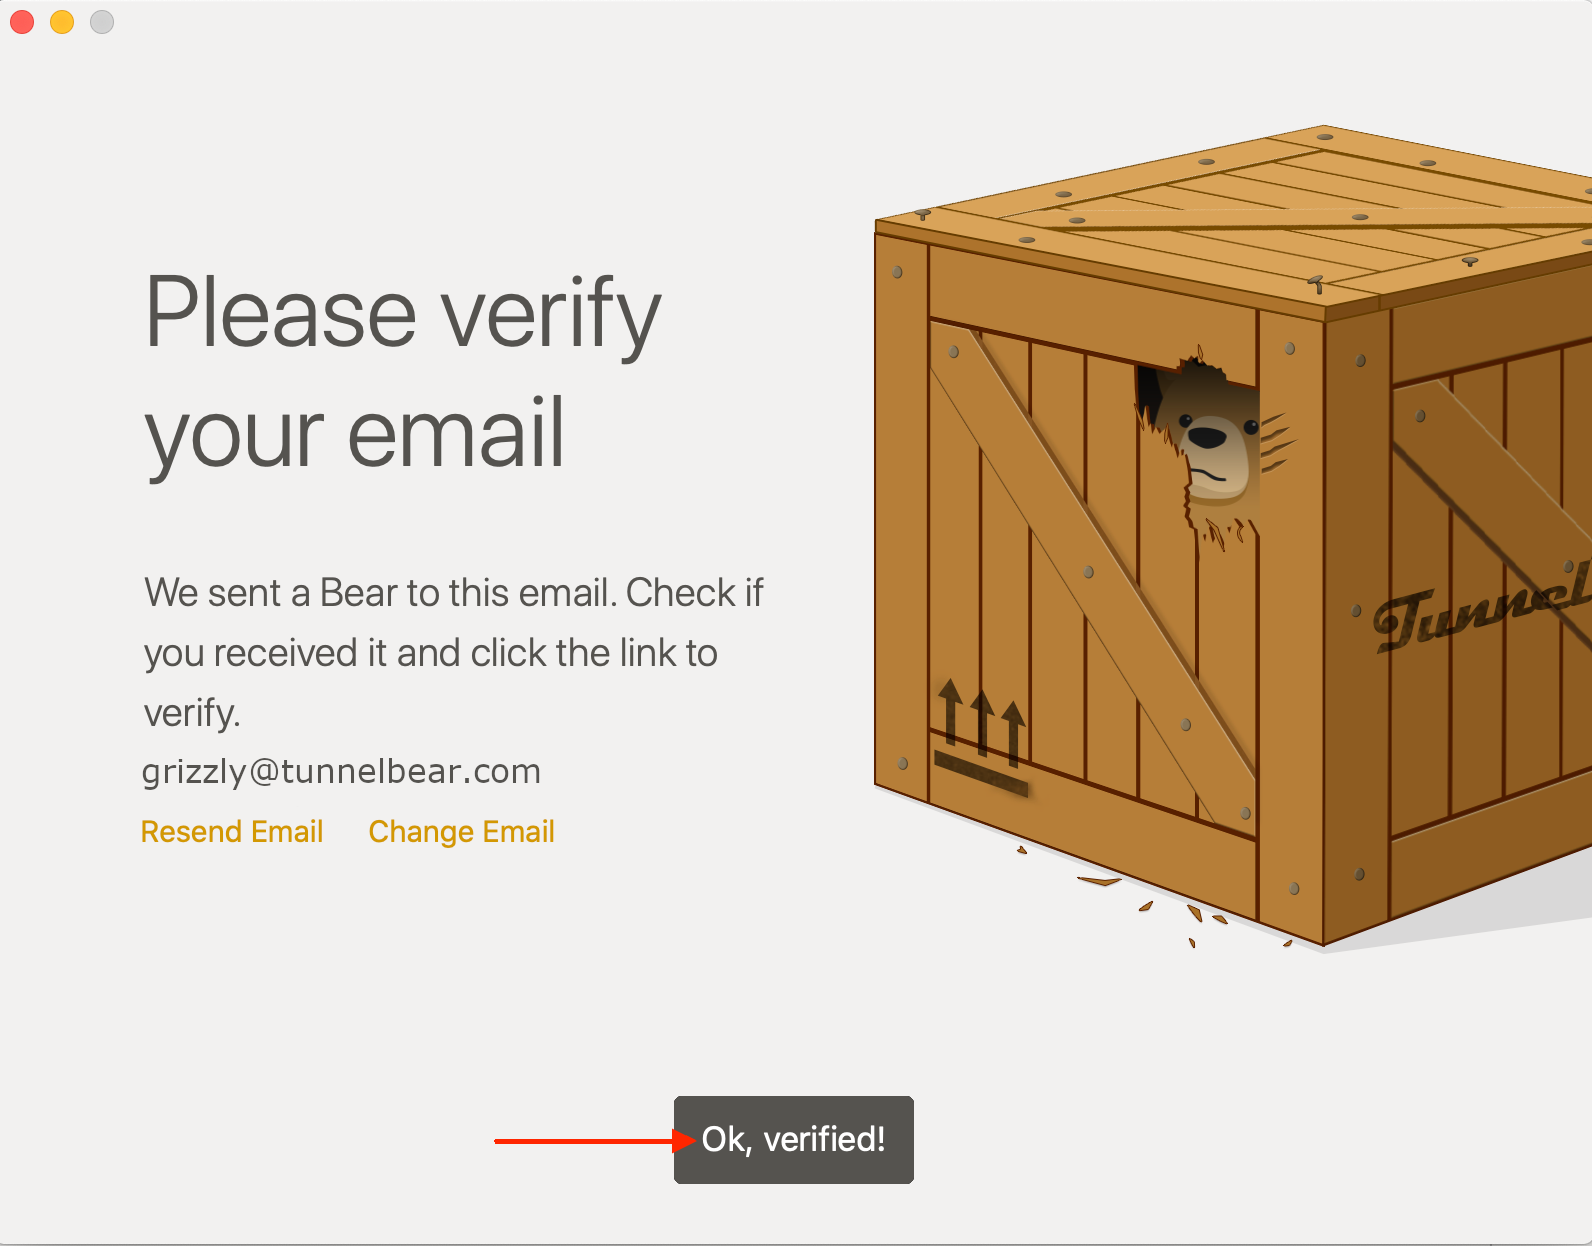
4- Email Verification
- For new sign-ups, check your email for a verification message from TunnelBear and select “Verify my account.” If you already have an account, proceed directly to the “Get Connected” step.
- Within the TunnelBear app, click “OK, verified!” to access the map interface

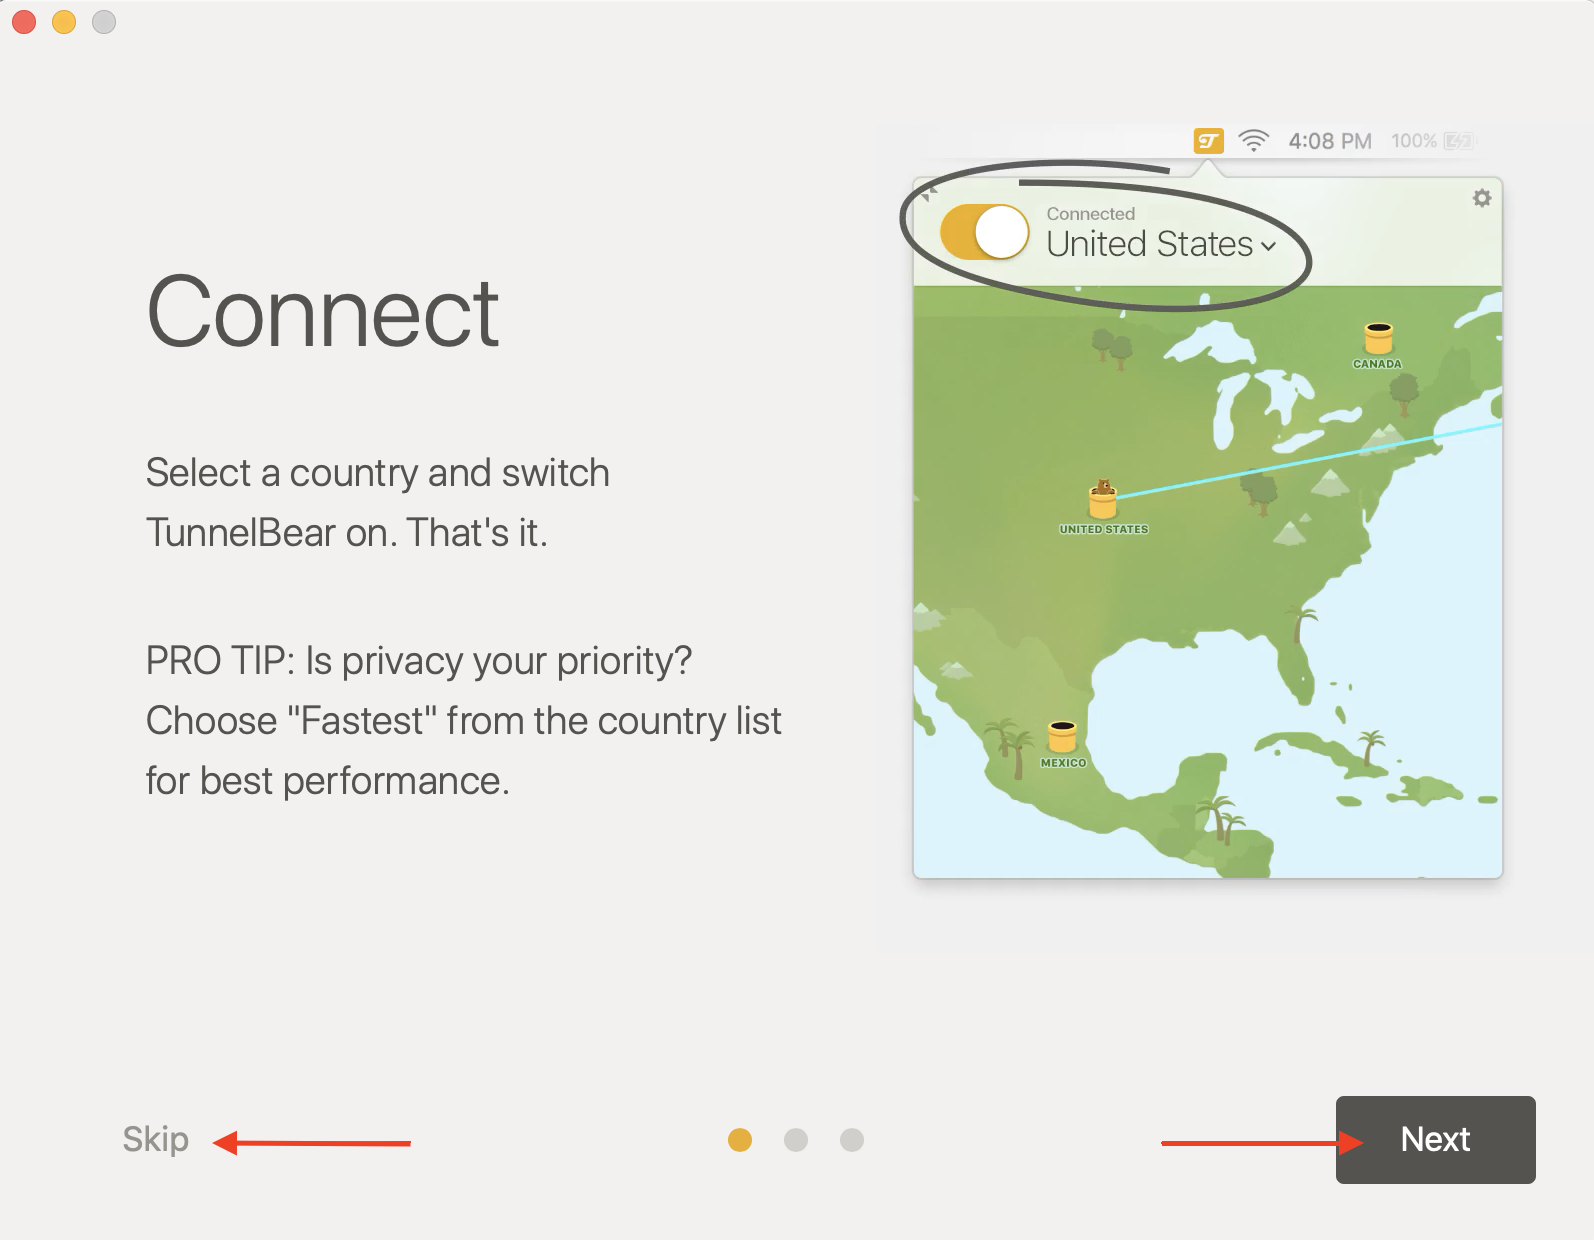
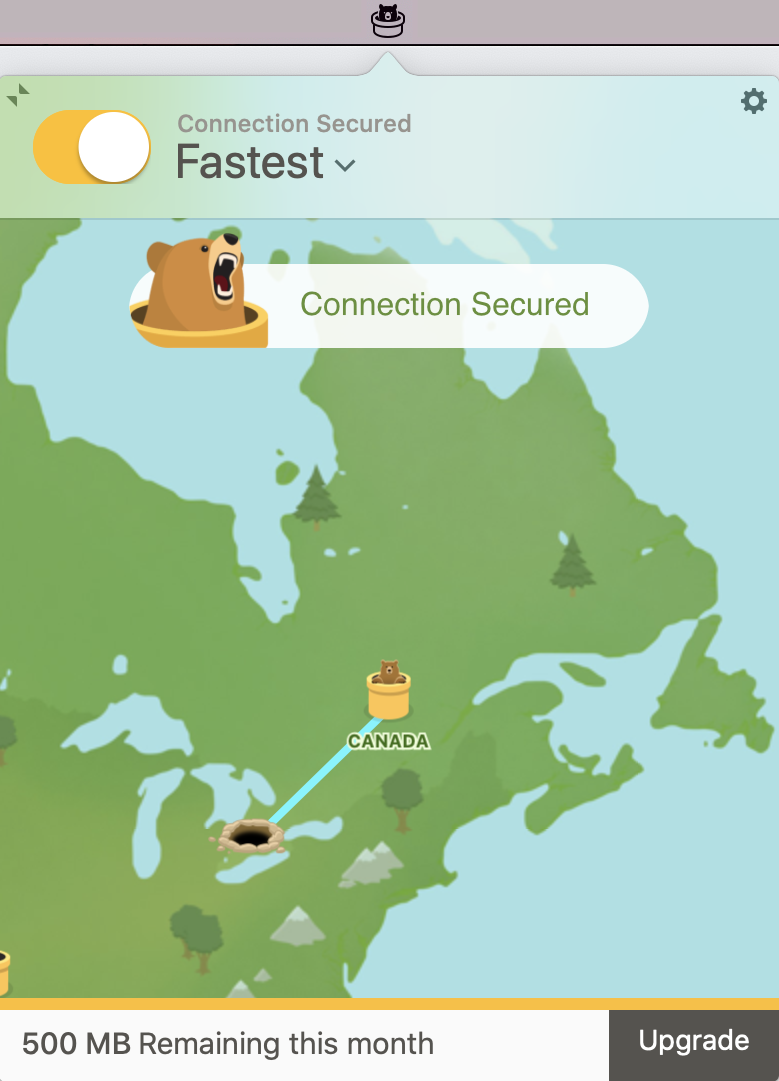
5- Connect Fast
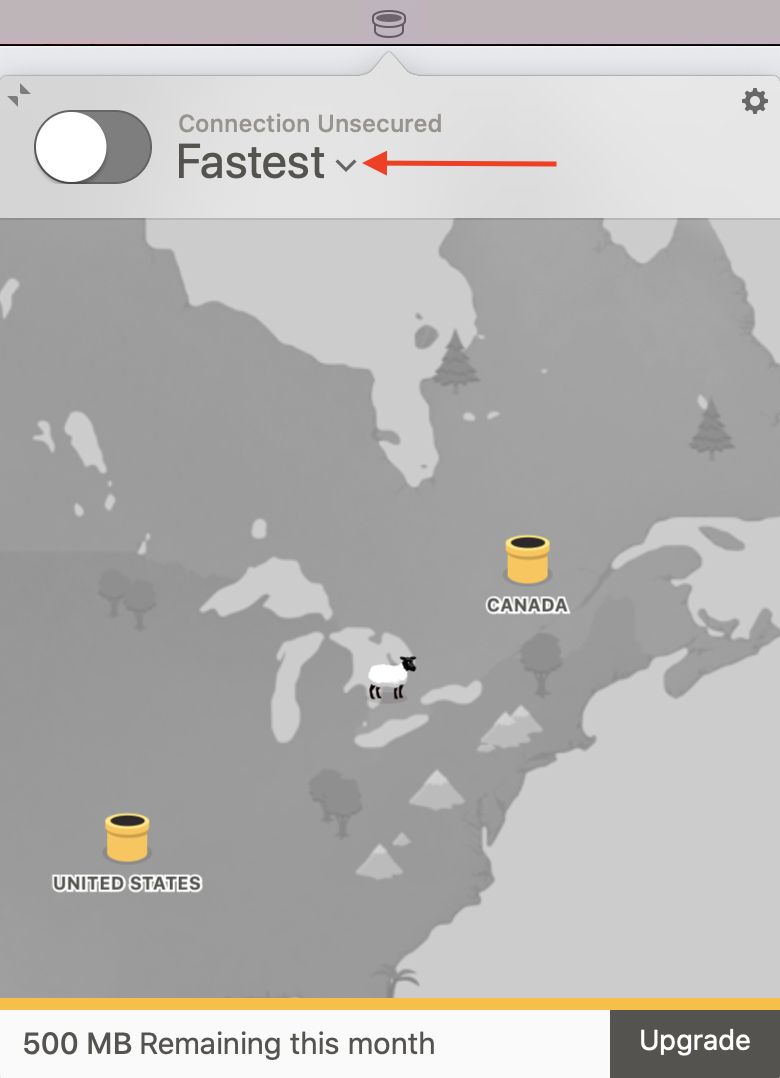
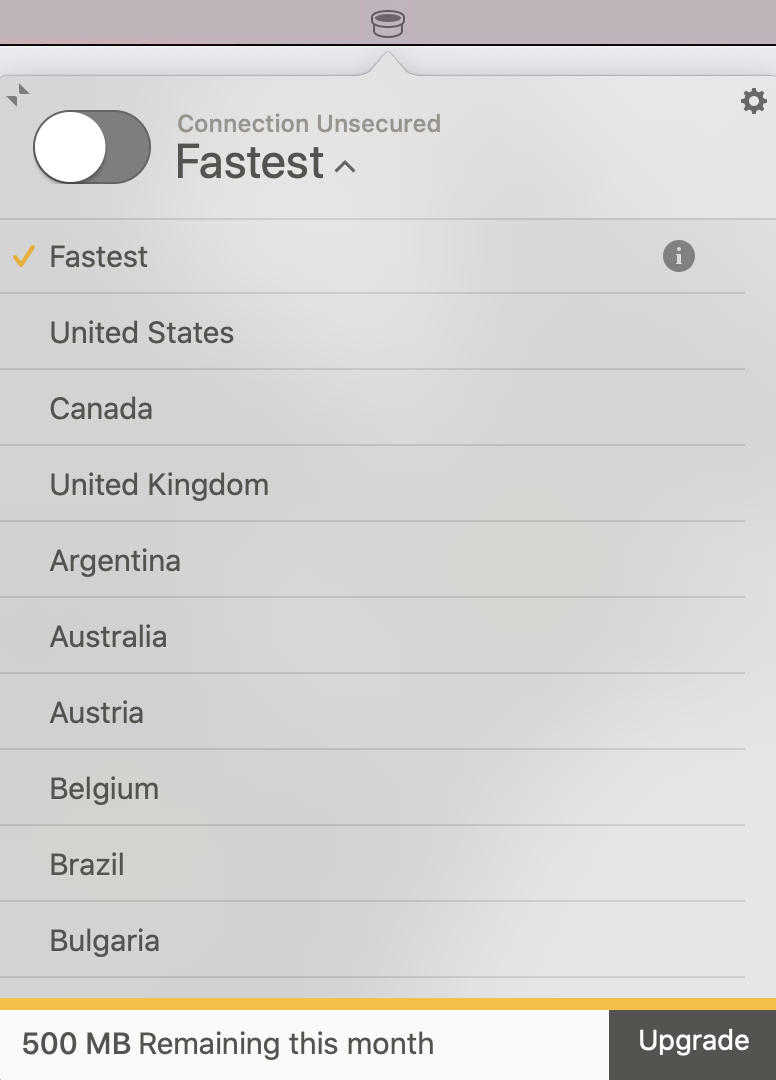
- Go to the country list by clicking the arrow beside the tunnel name (e.g., “Fastest”).
- Choose your desired country from the list to establish a connection.
- You’re now set and ready to start tunneling.
Is Tunnelbear a Good VPN for Your Mac ?
TunnelBear on Mac? It’s your digital fortress, a sleek shield for your online escapades. With its user-friendly interface, this VPN wraps your data in an encrypted hug, ensuring a secure cyber journey. It’s like having a personal bodyguard for your Mac, making browsing worry-free and downright delightful!

Key Features
- VigilantBear: Simple yet powerful.
- Strong Encryption ensures robust security.
- The GhostBear feature enhances privacy.
- Affordable at $4.17/mo.
- Servers in 23 countries for global access.
Tunnelbear is among the list of recommended VPNs for Macs. Let’s discuss some of its features briefly to understand the importance of this VPN.
Server locations
TunnelBear provides servers in 23 countries and allows simultaneous connections on unlimited devices, enabling seamless streaming across multiple devices. The TunnelBear VPN actively monitors and manages configurations on Mac for optimal performance and security.
Encryption
TunnelBear employs top-tier 256-military-grade encryption for robust security. Additionally, it boasts an impressive array of tunneling protocols such as OpenVPN, IPsec, and IKEv2, showcasing a comprehensive and formidable approach to data protection.
Streaming
TunnelBear successfully unlocks Netflix US, and it effectively unblocks BBC iPlayer, Hulu, Disney Plus, and other geo-restricted streaming services, demonstrating its capability to access diverse content platforms.
Torrenting
While TunnelBear now supports torrenting and P2P, it’s important to note that optimal utilization of these features requires the paid version. Previously lacking support for torrenting, it’s a positive development that TunnelBear now accommodates this functionality.
Speed Test
TunnelBear impresses with its fast speeds, as evident in our speed test results. Surprisingly, we recorded speeds of 53.00 Mbps for downloads and 62.77 Mbps for uploads in the US during our TunnelBear speed test .

TunnelBear offers decent speeds for smooth streaming and to perform vaious online tasks.
Ease of Use
We have tested Tunnelbear on iPhone, and it delivers satisfactory performance and guarantees a secure browsing experience for its users. Therefor TunnelBear remains a viable option to use on your iPhone.
TunnelBear is compatible with a limited range of devices, specifically Windows, macOS, iOS, Android, and browsers such as Chrome, Firefox, and Opera. While manual configuration includes Tunnelbear setup on Kodi in USA or to use with Roku devices, it’s important to note the platform restrictions outlined on TunnelBear’s official website.
Price
TunnelBear’s pricing includes a 2-year plan at $4.17/mo, perceived by some as relatively high. The current offerings consist of three paid plans—1 month at $9.99/mo, 1-Year at $4.99/mo, and a 2-year plan at $4.17/mo—as well as a free plan option.
Free trial
The single free plan essentially serves as a TunnelBear Free Trial, allowing users to experience the service at no cost.
Customer Service
Having problems like TunnelBear won’t start on Mac? Do not worry. TunnelBear offers responsive customer service, assistance with email support, and an informative knowledge base. Users can rely on timely and helpful responses to address any queries or concerns.
Learn more at our Tunnelbear VPN Review .
- Free plan available
- Robust security features
- Transparent and clear Terms of Service
- Engaging and fun theme
- Easy setup process
- Unstable connections
- Lack of live chat support
- Potential for slow speeds
- Average performance in unblocking streaming sites
- Somewhat higher cost
Why Should You Use a VPN on Mac ?
Following are the reasons to use a VPN on Mac for customer ease:
Encrypting Network Traffic:
VPNs encrypt your network traffic, safeguarding against cybercriminals attempting to access sensitive information like passwords and financial data.
Get Around Geo-Blocks:
VPNs enable you to bypass geographical restrictions, granting access to region-restricted content and services, enhancing your online experience.
Protection of Public Wi-Fi:
When using public Wi-Fi, a VPN adds an extra layer of security, shielding your data from potential threats and unauthorized access by encrypting the connection.
Enhanced Security Features:
VPNs provide advanced security features, such as tunneling protocols and encryption methods, fortifying your online activities and protecting your digital identity.
Improved Privacy:
By masking your IP address and encrypting your internet connection, VPNs enhance your privacy, preventing tracking of your online activities and ensuring a more anonymous browsing experience.
How to Fix TunnelBear Not Working on Mac ?
If you encounter difficulties like TunnelBear not working on Mac, several factors could be at play. Firstly, ensure you’re using the latest version of TunnelBear to guarantee compatibility with your MacOS. Secondly, check if your Mac’s firewall is hindering TunnelBear’s functionality; make necessary adjustments in the settings.
Additionally, issues might arise due to server-related problems; try resolving this by switching to a different server within TunnelBear’s settings. Addressing these potential concerns should help enhance your TunnelBear experience on your Mac.
Steps to Resolve:
- Download Correct Version: Visit TunnelBear’s official site, download and install the latest version compatible with your MacOS.
- Change Server: In TunnelBear settings, switch to a different server to troubleshoot connection problems.
- Validate Subscription: Confirm your TunnelBear subscription is active and valid to ensure uninterrupted service.
- Disable Firewall/Antivirus: Temporarily turn off the Mac firewall or antivirus software, as they might interfere with TunnelBear’s functionality.
FAQs -TunnelBear on Mac
Is TunnelBear available for Mac?
What is the TunnelBear helper tool on Mac ?
How do I enable TunnelBear on my Mac ?
Does TunnelBear work on Macbook?
Conclusion
In conclusion, we have navigated the process of downloading and installing TunnelBear on Mac , emphasizing its significance in bolstering online security, privacy, and unrestricted access to geo-restricted content.
The step-by-step guide ensures a seamless setup, empowering users with an effective VPN solution. With robust features such as military-grade encryption, server diversity, and compatibility with MacOS, TunnelBear emerges as a recommended choice for safeguarding personal data and enjoying a liberated online experience.
By addressing the “how,” “why,” and endorsing its benefits, TunnelBear on Mac proves to be a valuable tool in fortifying one’s digital presence.